Carpenter Pencils Guide: Pencil Grades and Comfort Tips
Whether you’re scribing a precise cutline on rough lumber or marking joists overhead, the humble carpenter pencil is a tool of quiet importance. Yet, not all carpenter pencils are created equal. From pencil grades to ergonomic design, choosing the right pencil can significantly impact both accuracy and comfort on the job. In this guide, we’ll break down the science behind pencil hardness, explore grip and comfort strategies, and offer insight into what makes a carpenter pencil truly effective in the field.
What Makes Carpenter Pencils Unique?
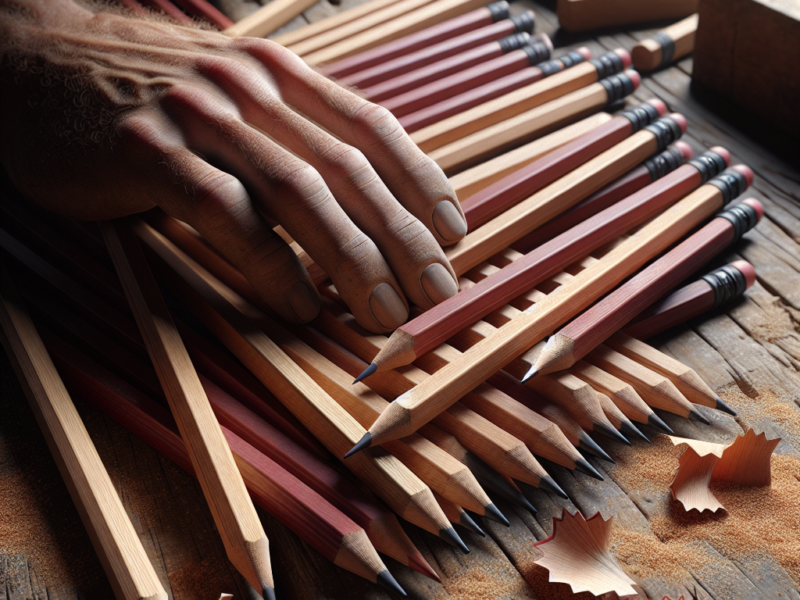
Unlike standard round pencils, carpenter pencils are flat or rectangular in shape. This design prevents them from rolling off sloped surfaces — a small but essential feature when you’re working on rooftops or scaffolding. The thicker graphite core also resists breaking under pressure, ideal for marking rough surfaces like concrete, wood, and stone.
But beyond these basics, the real performance of a carpenter pencil lies in two key areas: the hardness of the graphite and the ergonomics of its grip. Understanding both can elevate your workflow from good to great.
Understanding Pencil Grades: Hardness vs. Softness
Pencil grades refer to the hardness of the graphite core, typically labeled using the HB scale. This scale ranges from 9H (hardest) to 9B (softest), with HB sitting in the middle. For carpenter pencils, the most common grades fall between 2H and 2B, depending on the intended surface and marking style.
- H-grade pencils (e.g., 2H, 4H): Harder graphite, produces lighter, finer lines. Ideal for precise layout work on smooth surfaces.
- HB to B-grade pencils: Balanced for general-purpose marking. HB is the most versatile choice for framing, trim, and cabinetry.
- Soft B-grade pencils (e.g., 2B, 4B): Softer graphite, produces darker, thicker lines. Best for rough lumber or outdoor work where visibility matters.
Choosing the right grade depends on your task. For example, a 2H pencil might be perfect for marking drywall studs, while a 2B pencil offers better contrast on weathered timber. Some professionals even carry multiple grades for different jobs throughout the day.
For more on graphite grading systems, see this graphite scale guide from Pencils.com.
Sharpening Styles: Flat vs. Chisel Tips
Carpenter pencils are typically sharpened with a utility knife rather than a traditional sharpener. This allows for two common tip styles:
- Flat tip: Offers broad, durable markings. Great for rough framing or marking wide cuts.
- Chisel tip: Provides a fine edge for precision work, such as finish carpentry or cabinetry layout.
Some tradespeople even rotate their pencil as they draw to maintain a consistent line width. This simple technique can improve legibility and precision during complex layouts.
Ergonomic Grip: Reducing Hand Fatigue on the Job
Using a carpenter pencil for hours can strain your fingers, especially if you’re gripping too tightly or working overhead. That’s where ergonomic grip design comes into play.
While most carpenter pencils are flat by design, not all are comfortable. Here are a few ergonomic considerations that can make a big difference:
- Material texture: Some pencils feature a matte or rubberized coating for better grip, especially in wet or dusty conditions.
- Width and shape: A slightly wider body can reduce pressure points. Oval or elliptical shapes may offer a more natural hold than standard rectangles.
- Grip accessories: Add-on grips or foam sleeves can improve comfort without compromising control — especially helpful during repetitive tasks.
According to ergonomic studies in hand tool design, reducing pinch force and improving contact area are key to minimizing fatigue. For more on hand tool ergonomics, check out this NIOSH guide on ergonomics for construction tools.
Comfort Tips for Daily Use
If you use carpenter pencils daily, small adjustments can go a long way in protecting your hands and improving productivity. Here are a few pro tips:
- Rotate pencils often: Don’t wear down one side of the graphite — rotate the pencil to maintain balance and reduce uneven pressure.
- Use a holster or clip: Keeping your pencil accessible reduces repeated bending or searching, which adds up over time.
- Alternate grip position: Shift your finger placement every hour to avoid repetitive stress.
- Keep multiple pencils sharpened: Avoid the temptation to overuse a dull tip, which requires more pressure and leads to hand strain.
Also, consider switching to mechanical carpenter pencils for extended use. These modern versions offer consistent line width and often include cushioned grips for comfort. Brands like Pica and FastCap have developed mechanical models tailored for construction use.
Choosing Quality Carpenter Pencils: What to Look For
Not all carpenter pencils are made with the same attention to quality. Here’s what to evaluate when selecting a box for your toolbox or jobsite:
- Graphite consistency: Inferior pencils may contain brittle or uneven graphite, which breaks easily or marks inconsistently.
- Wood quality: Look for cedar or basswood casings — they sharpen cleanly and resist splintering.
- Brand reputation: Established manufacturers like General Pencil Company or Dixon Ticonderoga have long-standing quality control processes.
- OEM manufacturing transparency: Some private-label brands source from reputable OEMs, while others cut corners. Knowing the supply chain can help you avoid subpar tools.
For tradespeople buying in bulk, consider suppliers who offer OEM customization with your logo or preferred grade. This not only helps with branding but ensures you’re using a consistent product across jobsites.
Graphite Grades and Jobsite Conditions
Environmental conditions also influence which pencil grades perform best. For example, colder temperatures can make graphite more brittle, while humid conditions may cause soft grades to smudge.
Here’s a quick guide for matching grade to environment:
| Condition | Recommended Grade | Reason |
|---|---|---|
| Cold, dry weather | HB or B | Maintains flexibility without breaking |
| Hot, humid jobsite | 2H or H | Resists smudging and softening |
| Rough lumber or concrete | 2B or 4B | Dark, visible marks on textured surfaces |
| Finish carpentry indoors | H or HB | Precise, clean lines on smooth surfaces |
Adjusting your pencil grade based on environment is a subtle but effective way to improve efficiency and mark longevity.
Final Thoughts: The Right Pencil for the Right Task
Carpenter pencils may seem simple, but choosing the right one involves a balance of graphite grade, comfort, and application. Whether you’re framing a house or installing cabinetry, the right pencil can save time, reduce strain, and improve accuracy.
To recap:
- Use harder grades (H, 2H) for precision and soft grades (2B, 4B) for visibility.
- Pay attention to ergonomics — your hands will thank you after a long day.
- Match your pencil to the surface, environment, and task at hand.
As with any tool, quality matters. Invest in good carpenter pencils, and they’ll return the favor with better marks, fewer breaks, and a smoother workflow.
For further reading, check out this marking tools comparison from Wood Magazine.