Step by Step Color Pencil Sharpening and Coating Guide
Color pencils are more than just art tools—they’re essential instruments in classrooms, studios, and manufacturing lines. Whether you’re an educator managing supplies, an artist preserving your tools, or a manufacturer ensuring consistent quality, understanding the step by step process of sharpening and coating color pencils is crucial.
This guide walks through every critical stage, from selecting the right sharpener to understanding how coatings affect performance. Along the way, we’ll explore practical classroom strategies and dive into the technical aspects of pencil production.
Why Proper Sharpening Matters for Color Pencils
Unlike graphite pencils, color pencils have a softer core made of wax, oil, or a blend of both. This makes them more prone to breakage during sharpening if not handled correctly. A poorly sharpened color pencil can lead to wasted material, frustration, and inconsistent color application.
Whether you’re using student-grade or professional pencils, the sharpening method directly impacts the longevity and quality of the pencil. It also affects how students or artists interact with their tools—especially in high-use environments like classrooms.
Step by Step: How to Sharpen Color Pencils Without Breaking the Core
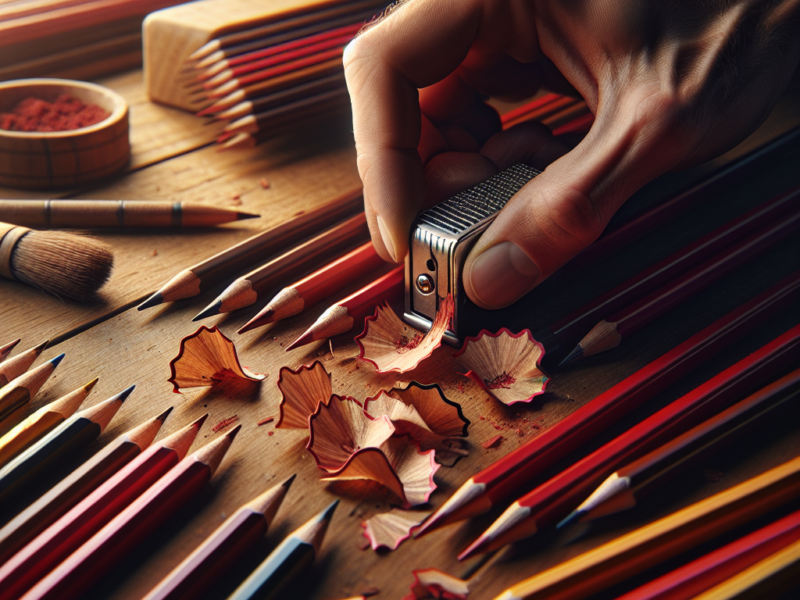
Sharpening color pencils properly requires care and the right tools. Here’s a detailed breakdown:
- Choose the Right Sharpener: Use a sharpener specifically designed for colored pencils. Look for one with a larger blade angle and smooth mechanism. Manual handheld sharpeners are fine for occasional use, but crank-style or electric sharpeners with auto-stop features are ideal for classrooms or studios.
- Check the Blade Sharpness: A dull blade crushes the core instead of slicing it cleanly. Replace blades regularly if you’re using a manual sharpener. For electric models, clean out shavings and debris to maintain performance.
- Rotate the Pencil, Not the Sharpener: Hold the sharpener steady and rotate the pencil gently. This reduces pressure on the core and minimizes the chance of breakage.
- Sharpen in Short Bursts: Don’t over-sharpen. A long, exposed core is more likely to snap. Aim for a modest point that balances precision and durability.
- Use Sandpaper for Fine Tips: For artists needing ultra-fine points, a sandpaper block can help refine the tip without risking breakage.
These techniques not only preserve your pencils but also reduce waste—an important consideration in both educational and professional settings.
Classroom Sharpening Systems That Actually Work
In high-traffic environments like classrooms, managing pencil sharpening can be a daily challenge. Constant interruptions, broken tips, and lost pencils can derail learning time. Fortunately, educators like Tanya from The Butterfly Teacher have developed systems that work.
Her approach involves assigning sharpened pencils at the start of the day and designating a “pencil manager” to handle replacements. Dull pencils go into a labeled jar and are only sharpened during specific times. This limits distractions and teaches responsibility. Her system also includes labeling pencils with student names or numbers to reduce loss and encourage accountability.
While this method was designed for elementary classrooms, it’s adaptable to art studios, therapy centers, or any group setting where supplies need to be managed efficiently.
Understanding Pencil Coating: What It Is and Why It Matters
Color pencils aren’t just wood and pigment. The outer layer—known as the pencil coating—plays a crucial role in durability, aesthetics, and user comfort. Here’s a quick coating overview to help you understand its function:
- Protective Barrier: The coating shields the wooden casing from moisture, dirt, and wear. This is especially important in humid environments or for long-term storage.
- Color Coding: Manufacturers often color the coating to match the core, aiding identification. Some pencils use dipped ends or full-barrel coatings for this purpose.
- Grip and Texture: Matte or rubberized coatings improve grip, especially for younger users or extended use. Glossy coatings, while sleek, can be slippery.
- Branding and Compliance: Coatings often include printed logos, batch numbers, and safety certifications. In markets like the EU, coatings must meet EN71 standards for toy safety.
From a manufacturing standpoint, coatings are applied using either spray, dip, or roller techniques. Water-based lacquers are common due to their environmental friendliness and quick drying time. After application, pencils are dried in controlled environments to ensure even coverage and adhesion.
Coating and Sharpening: How They Interact
It might surprise you, but the type of coating can influence how a pencil sharpens. Thicker or uneven coatings can cause blades to catch or split the wood casing. Inconsistent coating thickness is often a sign of poor quality control during manufacturing.
Premium brands invest in multi-layer coatings that are both thin and durable, ensuring smooth sharpening without splintering. If you notice flaking or cracking during sharpening, it might be time to switch to a higher-quality pencil—or a better sharpener.
Tips for Maintaining Coated Pencils in Bulk Settings
In settings where hundreds of pencils are in circulation—like schools, art camps, or therapy centers—coating wear and tear becomes a real issue. Here’s how to extend the life of your coated pencils:
- Store Vertically: Keeping pencils upright in jars or bins reduces friction and scratching.
- Avoid Overcrowding: When stored too tightly, pencils rub against each other, damaging the coating.
- Use Pencil Sleeves: For premium sets, consider silicone sleeves or cases to preserve coating and tips.
- Rotate Stock: In classrooms, rotate pencil sets weekly to ensure even usage and prevent overuse of a single batch.
These simple practices can significantly reduce waste and replacement costs over time.
Behind the Scenes: How Color Pencils Are Made
Understanding the manufacturing process gives deeper insight into why sharpening and coating matter. Here’s a simplified overview of how color pencils are typically made:
- Core Production: Pigments are blended with wax or oil binders, then extruded into soft rods and dried.
- Wood Casing: Cedar or basswood slats are grooved, filled with cores, then glued together to form a sandwich.
- Shaping: The pencil sandwich is cut into individual pencils and shaped—round, hexagonal, or triangular.
- Coating: Each pencil is coated multiple times with lacquer or paint, then printed and dried.
- Finishing: Ends are dipped, and pencils are sharpened or left flat depending on packaging needs.
For a deeper dive into pencil manufacturing, check out the industry reference from Pencils.com, which offers a visual breakdown of each step.
Final Thoughts: Sharpen Smart, Coat with Care
Color pencils may seem simple, but their performance relies on careful attention to detail—from sharpening technique to coating quality. Whether you’re a teacher managing supplies, an artist preserving tools, or a manufacturer fine-tuning production, mastering these processes pays off.
Implementing a structured system like the one shared by The Butterfly Teacher can transform how pencils are used and maintained in group settings. Meanwhile, understanding the science behind coatings and sharpening can elevate your appreciation for these everyday tools.
In the end, a well-sharpened, well-coated pencil is more than a writing instrument—it’s a reliable companion in learning, creativity, and craftsmanship.